Custom Inspection Systems for Automotive Parts Production

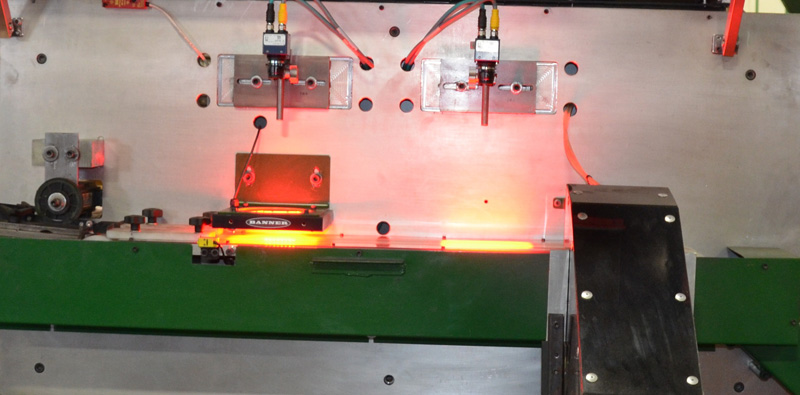
ART Metals Group, produces tens of millions of metal stampings for the automotive industry each year. ART utilizes a custom vision inspection system to accelerate the pace of validating alignment, size, and other critical features. This non-contact inspection, ensures ART’s products conform to customer specifications and tolerances.
Designed to provide consistent and accurate measurements, this inspection equipment is capable of inspecting parts produced from any type of material. This system handles parts measuring up to 3.00″ diameter, automatically checks the center of the part, size, I.D., O.D., and other critical features. Powerful enough to make extremely accurate, high-resolution measurements, this vision inspection system can detect inconsistencies down to ±.001″ on concentricity. Built-in capabilities allow the vision system to properly separate and quarantine parts. All of these features allow ART to offer high quality parts individually inspected with maximum efficiency. This inspection capability helps ensure that ART deliver precision parts on time every time. This attention to quality gives the customer the confidence that all of the stampings will meet their high standards of excellence. Our commitment to quality has earned Art the status of preferred stamping supplier with this customer and many others.
To learn more about ART Metals Group, our manufacturing capabilities, or to obtain a quote, contact us today.
Highlights of this Automotive Part Visual Inspection
Vision Inspection
Inspection
Custom
.250″ – 3.00″
+/- .001 including Concentricity
All Types
Non-contact inspection
All
On-going GD+T
Rate/Hour capabilities
As needed
As needed
Customer print specifications and tolerances
